Uploading Creatives
Ensure that all files are below required minimum size as the Audit team regularly checks files that are above the required file size and may report it.
Sitecore Path
All of the media folders will be found in Media Library > Vanilla.Mobile > Brand State Domain.
After going inside through the appropriate Brand State Domain there are specific folder to place your assets depending on the brand on you ticket, see guide below:
BetMGM | Borgata | PartyCasino | partypoker | |
|---|---|---|---|---|
Casino |
|
|
| |
Poker |
|
|
| |
Sports |
|
|
Uploading the Folder
Please rename the folder containing your assets with the name of your ticket. Additionally, ensure that you remove any unwanted characters from both the folder names and their subfolders.
List of Unwanted Characters
/ (Forward slash)
\ (Backward slash)
: (Colon)
(Asterisk)
? (Question mark)
" (Double quote)
< (Less than)
> (Greater than)
| (Pipe)
% (Percent)
& (Ampersand)
{ (Left curly brace)
} (Right curly brace)
\ (Backslash)
@ (At symbol)
$ (Dollar sign)
! (Exclamation mark)
' (Single quote)
` (Backtick)
= (Equal sign)
(Plus sign)
[ (Left square bracket)
] (Right square bracket)
Before proceeding, double-check that the files inside the folders are below the required file size (95KB). Also, ensure to delete any file named .DS_Store found within the folders.
First, compress your files as a ZIP file to upload multiple files to sitecore
Make sure that you are inside the appropriate folder, and click on Upload files (advanced) and the top of the content area

It will display a popup where you can drag and drop the compressed folder to the Choose File input or click the same button and navigate to the respoective folder.
Remember to check Unpack ZIP Archives checkbox so it will be automatically unzipped the folder is uploaded.
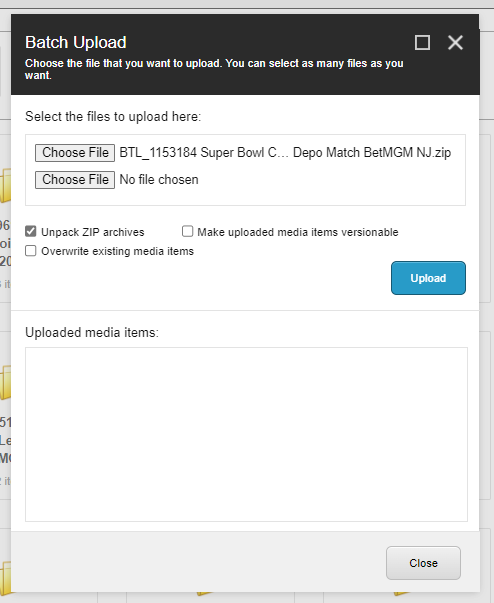
Click upload and wait for your document to finish uploading.
Copy the direct link and paste it to your reference for your ticket.
Shared Assets
If your ticket is a Shared Leaderboard ticket, there will be assets for the PAT that will be used for 2 different states but will direct to a single path.
There are additional steps in order to do this.
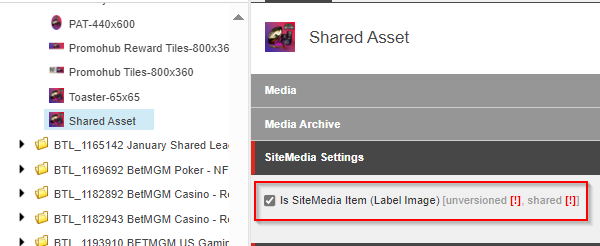
Select the asset and check its Is SiteMedia Item Checkbox
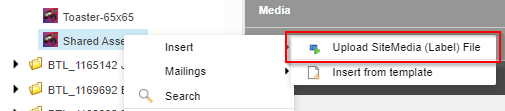
Right click the image on the Content Tree and select Insert > Upload SiteMedia (Label) File.
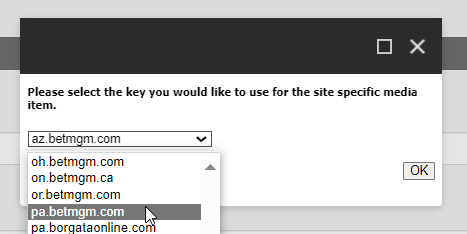
A popup will open and will allow you to select the Brand State Domain for the shared image. Click the OK Button to confirm.
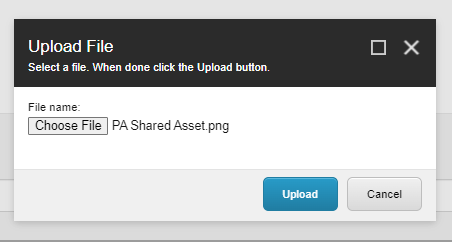
Another popup will open that allows you to upload the other asset that will be used for the shared state. Click Upload to start uploading.
It will display a new item as a child but the parent's direct link can be used for the shared PAT. It will automatically change the asset depending on which state it is being viewed on.

Uploading mp4 file for Video Banner
There is a new update in building Video Banner tickets wherein we will not use third-party video hosting in creating these tickets instead we will now upload them in Sitecore.
Here are the steps on how to upload mp4 files in Sitecore.
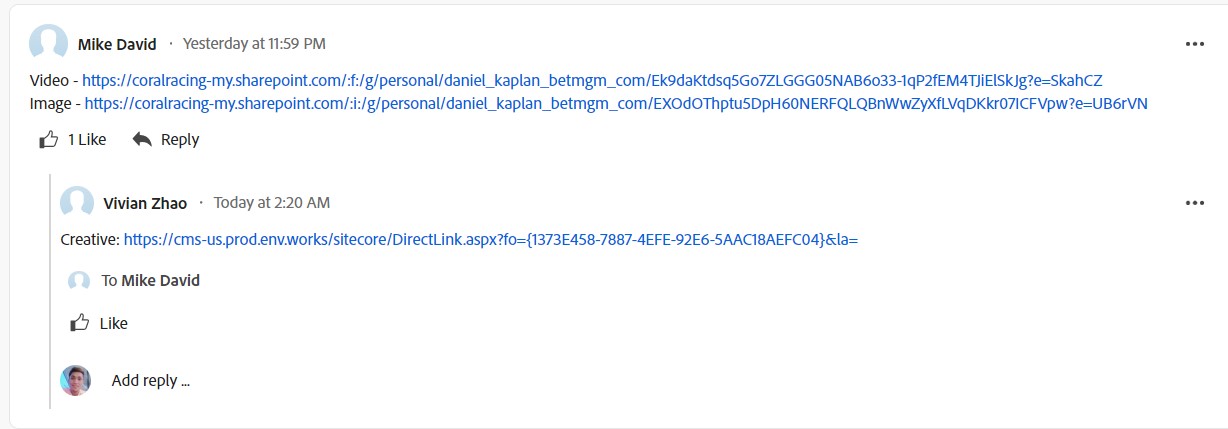
First, you need to download the mp4 file for the Video Banner you can see this in the Updates tab of the Parent ticket. If it's not there you can check the Project Details or in the Document .

After clicking the link you'll be prompted in an Outlook folder, where you can download the mp4 file for the Video Banner. If the mp4 file is in the Document tab it will automatically download the file when the link is clicked.

After downloading the mp4 file you can upload this into Sitecore by going into this Sitecore Path
Media Library > Videos > US > Casino Video Banner > Folder that starts with the first letter your Ticket
Unlike the normal way of uploading assets in Sitecore, uploading mp4 files is slightly different.
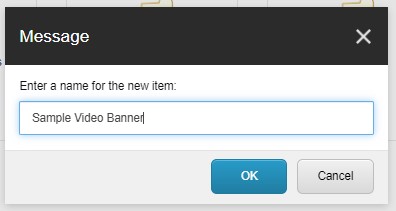
Start with creating a Media Folder and rename it to the title of the Video Banner
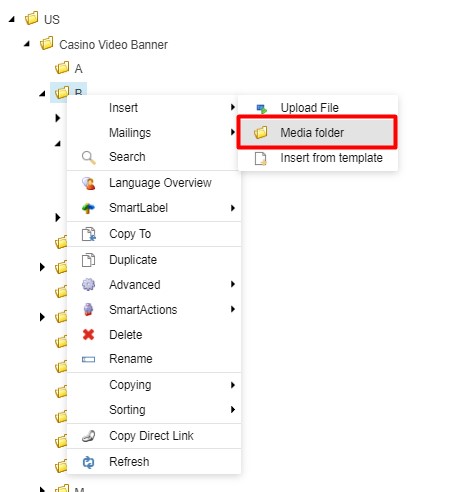
Create your Media Folder in the folder that starts with the first letter of the Video Banner
After Creating the folder browse through the already-created Video Banners and Duplicate the file that has this icon and rename it.

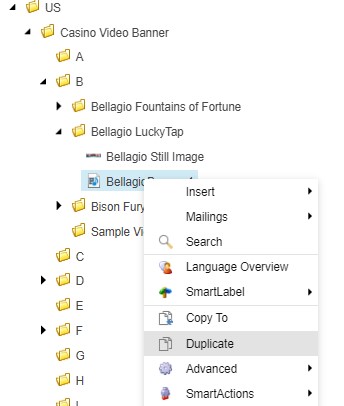

Don't forget to move your newly renamed file into its corresponding ticket folder.
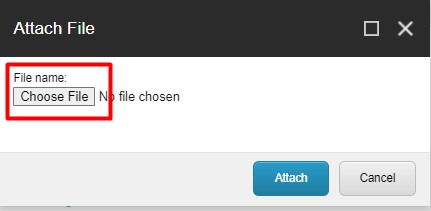
Next, go to your mp4 file and click Attach.
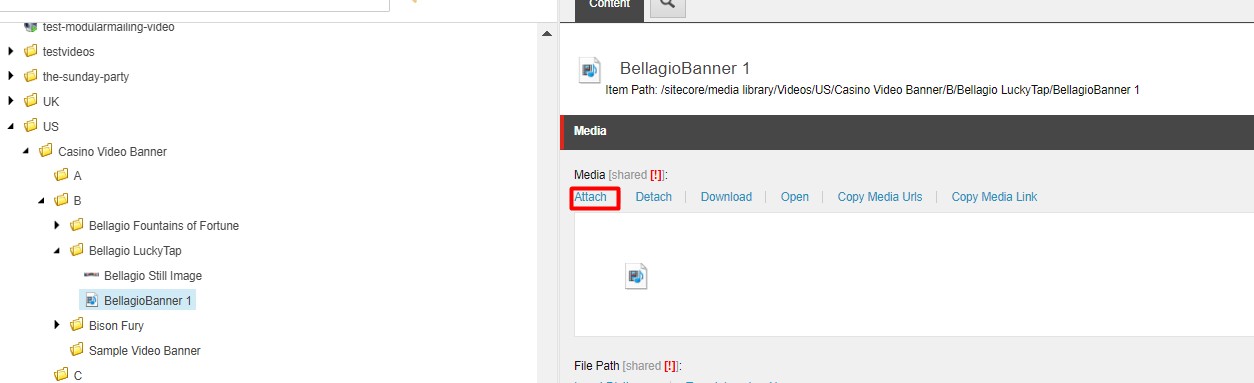
After clicking Attach choose the mp4 file you want to upload for the Video Banner.
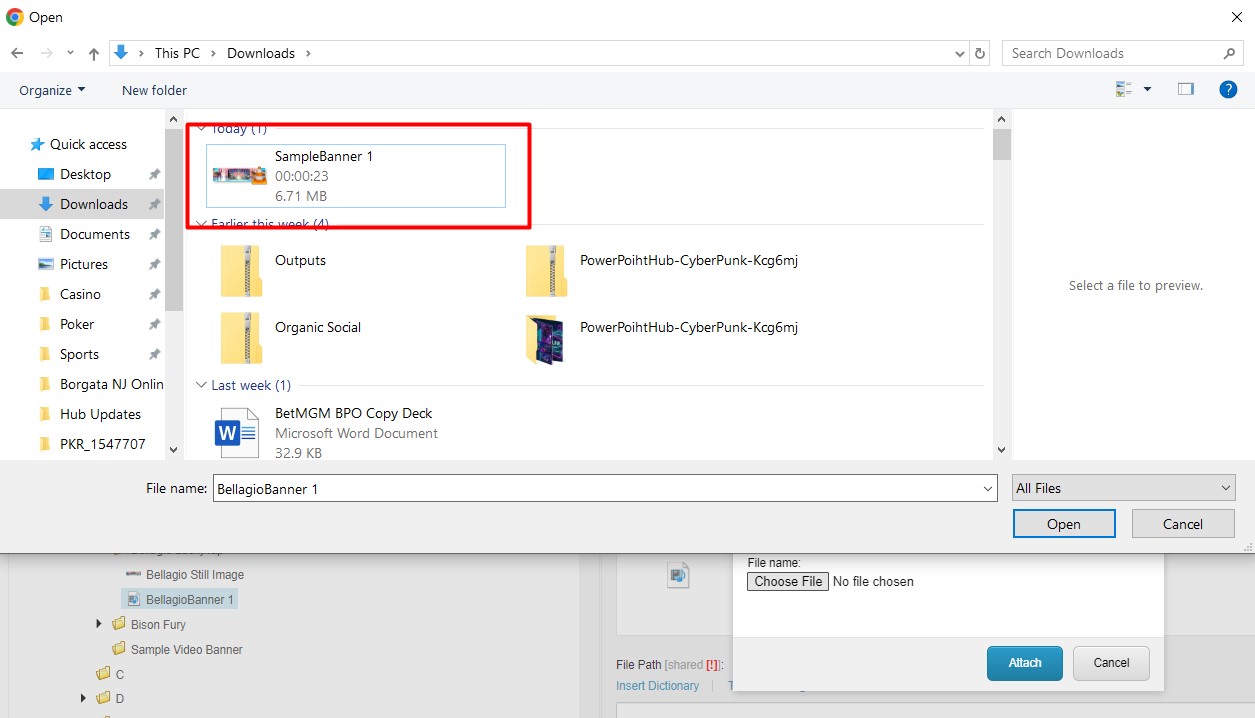
After it is done uploading, you can check if it's the correct mp4 just by opening and playing it.
For the 1200x300 Image you can just upload it the same as any other assets in the folder.
Lastly, copy the Direct Link of the creatives of the Video Banner and comment it on the Workfront since this will be used by all states.
There will be no need to create multiple creatives for different states for the new Video Banner. To avoid accidentally creating multiple creatives by different states we can use the rule we have for SHARED PAT wherein the NJ task will be the one who will build the creatives or the other states can communicate with them to avoid mix-ups.